CrowdHandler Shopify App - Mapping Your Products
CrowdHandler Shopify App - Mapping Your Products
What does it do?
Creates CrowdHandler waiting rooms that protect your Shopify store. You choose how much of the store to protect: everything, whole collections, or individual products.
-
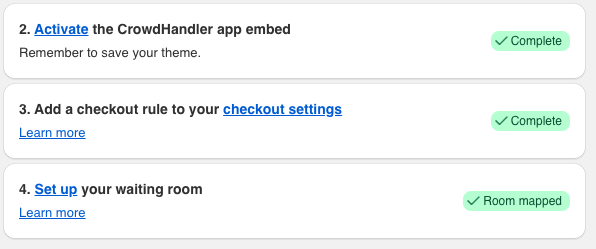
From the app home page, click Set up under "4. Set up your waiting room". Once a waiting room exists, this step shows "Room mapped".
Choosing what to protect
The first thing you'll see on the mapping page is the What to protect card. Until you choose, the badge reads "Not set up" and nothing is protected.
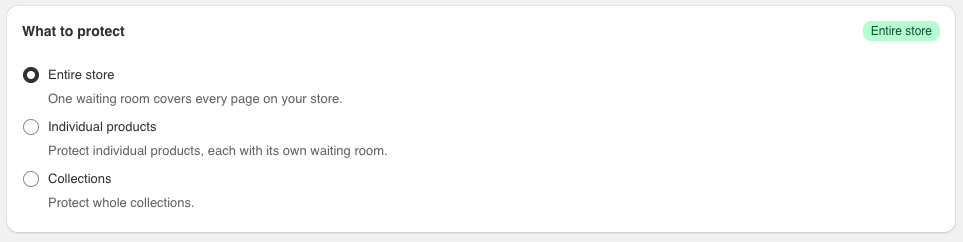
Pick one of three modes:
- Entire store — one waiting room covers every page on your store.
- Individual products — each product you choose gets its own waiting room.
- Collections — each collection you choose gets one waiting room that covers every product in it.
Click a mode, then confirm in the dialog. Only the panel for the mode you chose is shown beneath the card.
Note: You can change mode later, but the modes are exclusive. Switching deletes the waiting rooms the new mode can't use. Waiting rooms the new mode can use are kept: for example, switching from Collections to Individual products removes your collection rooms but keeps any product rooms. The confirmation dialog tells you if anything will be removed before you commit.
Protecting your entire store
-
Choose Entire store and click Protect entire store in the dialog.
-
A single waiting room is created and the badge on the card changes to "Entire store". The Your waiting room card below shows the room's title and message.
-
Select Edit waiting room to open it in your CrowdHandler dashboard, where you can customize it. Read more about configuring waiting rooms.
There is nothing else to map in this mode. To protect only part of your store, switch to Collections or Individual products.
Protecting individual products
- Choose Individual products and click Protect individual products in the dialog.
-
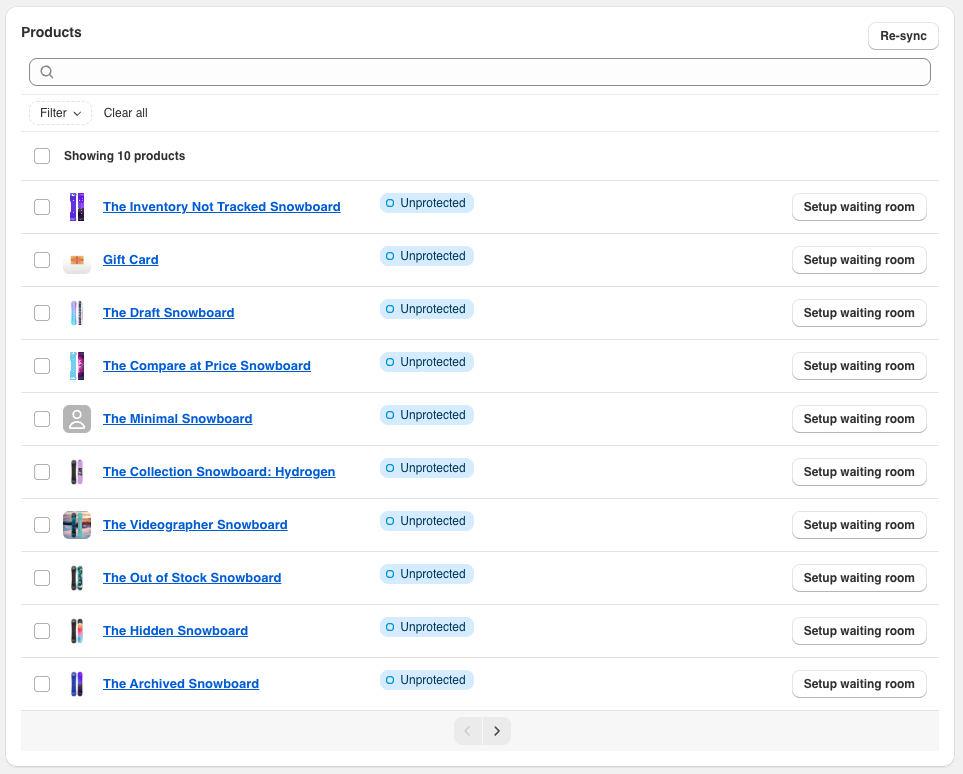
Find the product in the list, using the search box or filter if you need to, and click Setup waiting room.
-
The product's badge changes to "Protected".

-
Select Edit waiting room to open the new waiting room in your CrowdHandler dashboard and customize it if necessary. Read more about configuring waiting rooms.
-
To remove protection from a product, click the bin icon next to it and confirm. This deletes the waiting room and cannot be undone.
Note: If you have changed a waiting room's settings in CrowdHandler and the list doesn't reflect it yet, click Re-sync to reload your waiting rooms.
Protecting collections
-
Choose Collections and click Protect collections in the dialog.
-
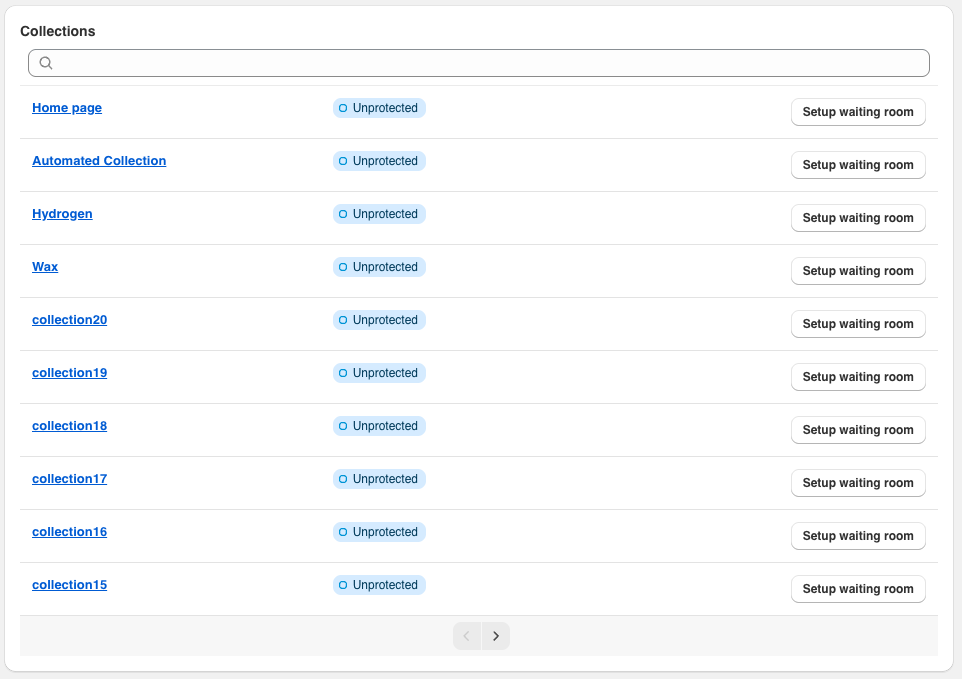
Find the collection in the list and click Setup waiting room.
-
The collection's badge changes to "Connected". Every product in the collection is now protected by that one waiting room.
-
Select Edit waiting room against the collection to open it in your CrowdHandler dashboard. Read more about configuring waiting rooms.
-
To remove protection from a collection, click the bin icon next to it and confirm. This deletes the waiting room for the whole collection and cannot be undone.
Note: Very large collections can't be covered by a single waiting room. If you see the "Protect Collection" dialog saying the collection is too large, the app offers to switch you to Entire store instead, which covers that collection and everything else.
Product tags
When you protect a product or collection, the app adds a ch-checkout-validator tag to each protected product. This tag tells checkout to require a valid waiting-room token for that product. The app manages these tags for you: it adds them when you set up a waiting room and removes them when you delete one.
If a product ever shows an Add tag or Remove tag link next to its badge, its tag has fallen out of step with its waiting room. Click the link to correct it.
Handle mismatch
A waiting room matches products by the product URL captured when it was set up. If you later change a product's handle in Shopify, its badge changes to "Handle mismatch" and the waiting room will stop engaging for it. To fix it, either edit the waiting room in CrowdHandler and update its URL pattern to the new handle, or delete the waiting room here and set it up again.
Protecting a product variant
The app sets up waiting rooms per product. To narrow one to a single variant, adjust the room in your CrowdHandler dashboard after it has been created.
Note: Finding a Product Variant ID — Shopify's find-a-variant-ID guide
-
Protect the product using the "Protecting individual products" steps above.
-
Select Edit waiting room to open it in CrowdHandler.
-
Add the variant ID query string (
?variant=<ID>) to the end of the "URLs containing" value. -
Append the variant ID to the product ID in the "Waiting room slug" field, using a hyphen as a separator.
The app recognises a room slugged this way as belonging to the product, so the product stays "Protected" in the list.